Sunday, May 27, 2012

30 Challah!

Erica and I have both made challah many times before - personally, I think it's one of the easiest breads to whip up, and the braiding turns out really nicely. So we were excited by this months challenge, as we knew for sure that it would turn out well.

Scheduling, yet again, turned out to be the tricky part. So we planned to eat our challah together, but bake separately. 
I made two unadorned loaves - one three strand braid, and one four strand braid. The four strand braid was tricky for me. The first time I tried it, based on an internet video, I ended up with a three strand braid and one strand just hanging out underneath. Whoops. But then I tried it again, and successfully incorporated all the strands - I like how textured it looks. 

Erica was fancier - she added poppy seeds to her beautiful loaves.


Then came from the best part. We brought our four loaves to Big Basin State Park as part of a birthday celebration (won't say which one of us or which birthday, but the title provides at least one hint :-)). 

We sliced them up, dipped them in eggy goodness, and fried them up on a camp stove. They say everything tastes better outside, but I'm pretty sure these would have tasted just as good indoors.
 Early season strawberries provided the perfect topping. 

Thanks to our hosts!

May’s Daring Bakers’ Challenge was pretty twisted – Ruth from The Crafts of Mommyhood challenged us to make challah! Using recipes from all over, and tips from “A Taste of Challah,” by Tamar Ansh, she encouraged us to bake beautifully braided breads.


Friday, April 27, 2012

Nazook! Gadzooks!


Sadly I wrote an entire blog post about our nadzook-ian adventures, which Blogger apparently ate for breakfast. Oh well, in short -- it was a delicious challenge and a lot of fun to make.


I made the dough in advance on a weekday morning and then Sara came over in the evening and, while I whipped up a quick dinner, she made the filing.


We decided to add walnuts and cinnamon to the basic vanilla + butter + sugar suggested.


Sara did the hard work of rolling out the dough.


And the fun work of rolling up our pastries.


We coated them in egg-yolk wash and cut them with a pastry cutter.


This picture doesn't do them justice. They were really beautiful out of the oven -- nice swirl with a lovely brown glossy top -- and they smelled wonderful. 


They tasted wonderful, too. We each had two and had to resist going for more. Thanks for a great challenge -- new to us, but I suspect we may make these again!

The Daring Bakers’ April 2012 challenge, hosted by Jason at Daily Candor, were two Armenian standards: nazook and nutmeg cake. Nazook is a layered yeasted dough pastry with a sweet filling, and nutmeg cake is a fragrant, nutty coffee-style cake.

Tuesday, March 27, 2012

The Baking JDs' Challenge: Dutch Crunch Bread


We were very excited to host the Daring Bakers challenge this month! For our challenge, we chose a San Francisco Bay Area classic: Dutch crunch bread. 

Sara and I each spent a fair amount of time reading and testing bread recipes, and picking two to suggest to the Daring Bakers. Ultimately, however, the focus of our challenge was the Dutch crunch topping on any bread and a creative sandwich made out of the finished product.

To celebrate hosting the challenge, we decided to throw a party at Sara's apartment -- incidentally on St. Patrick's Day. Everyone dutifully wore at least a little green.


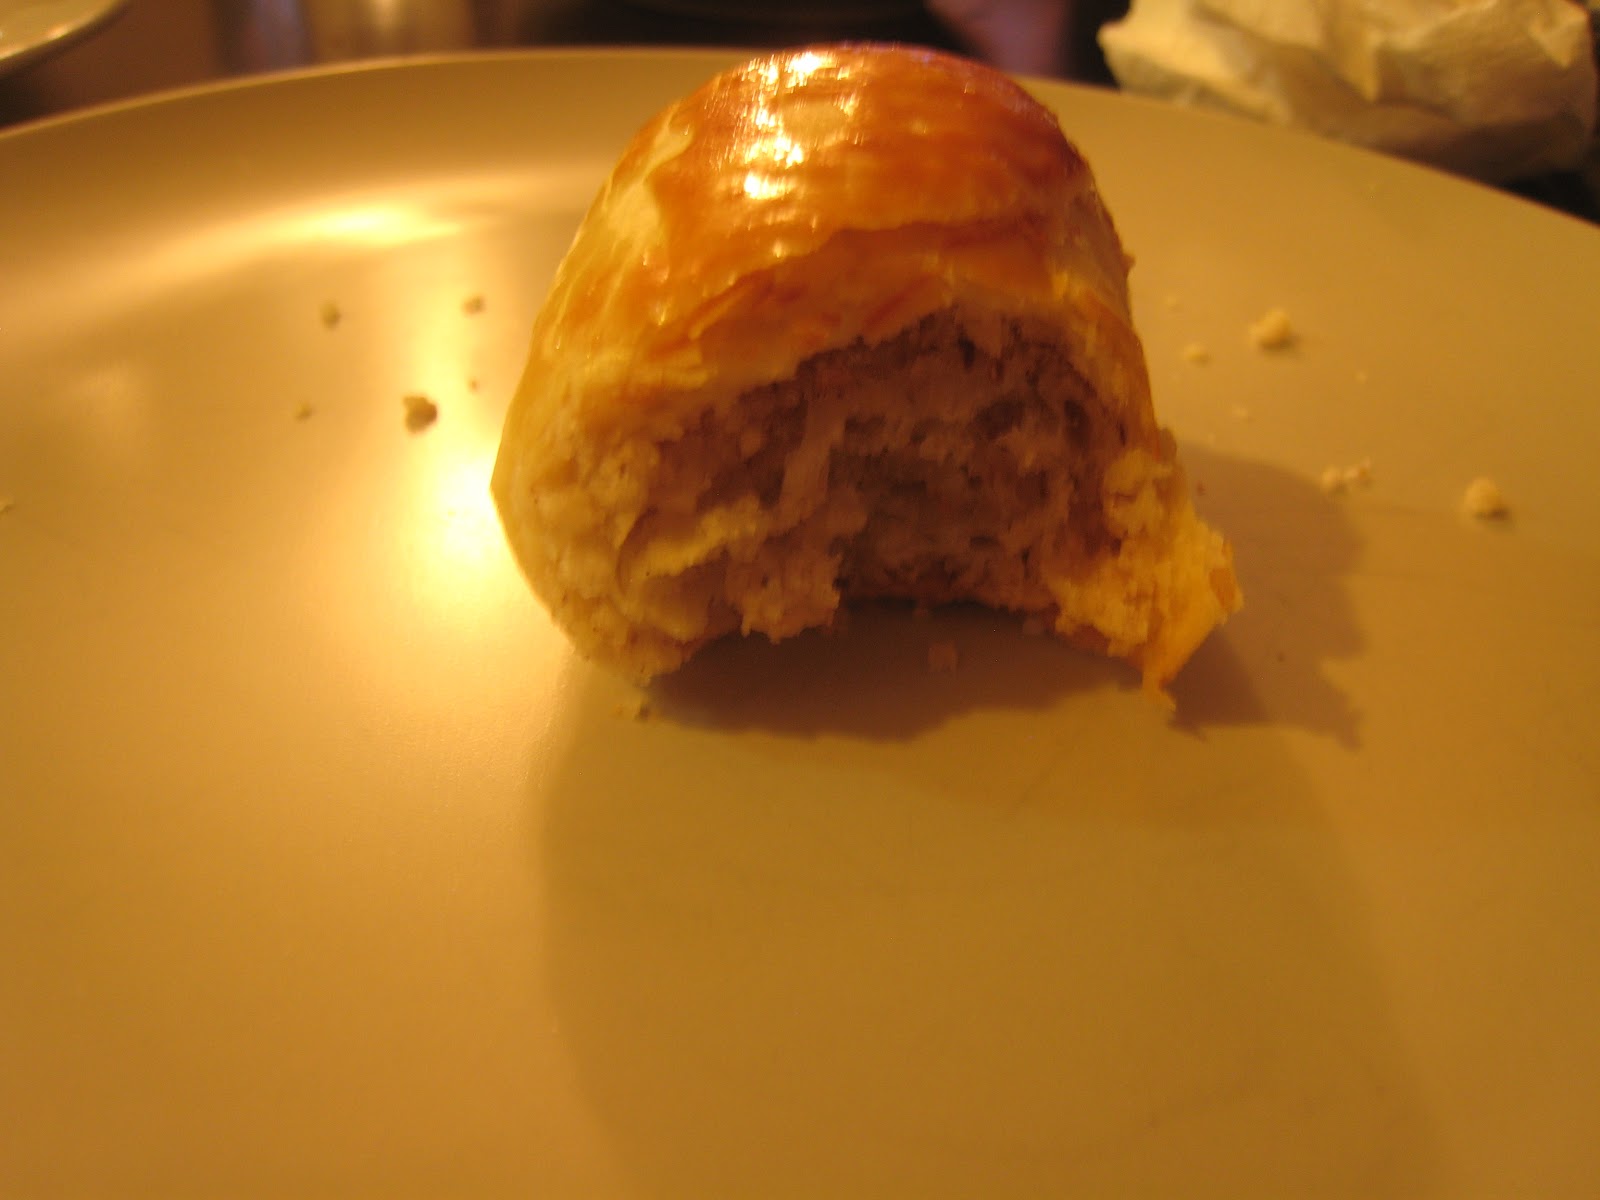
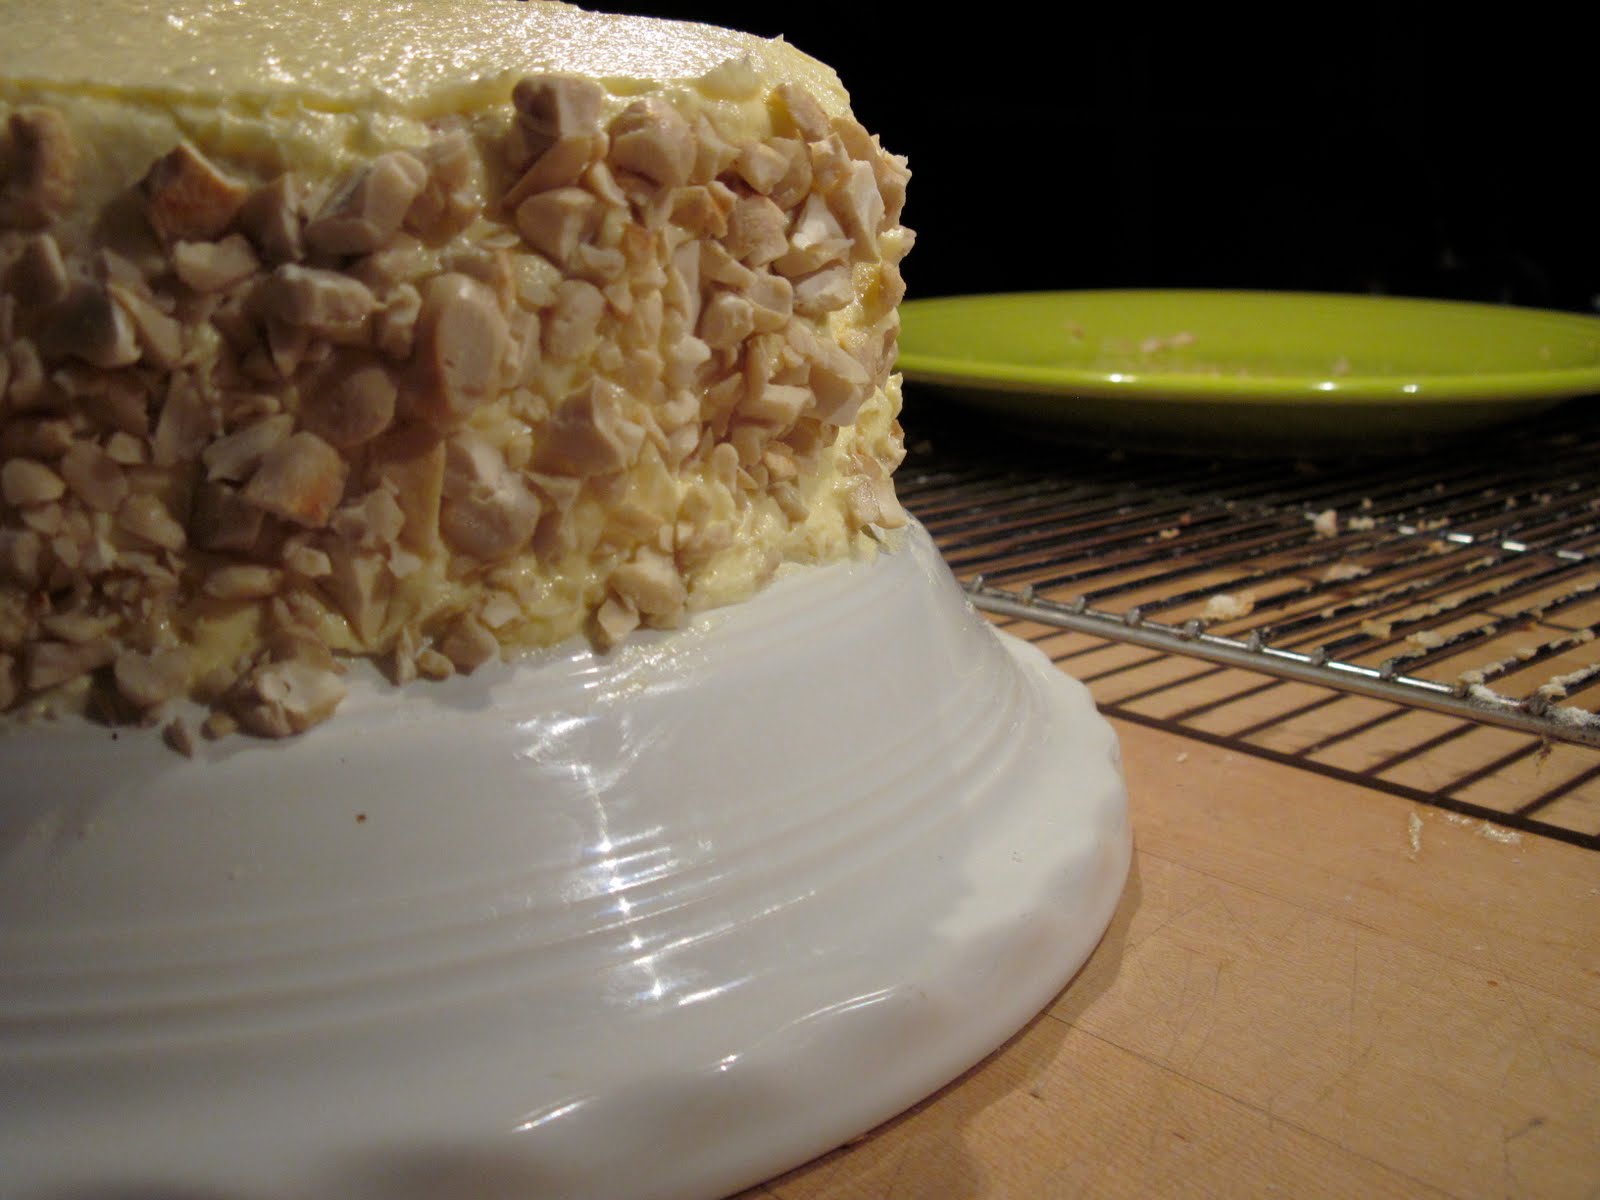
We both baked 12 Dutch crunch rolls, using the simple white bread recipe we'd provided to the group and, of course, the Dutch crunch topping. I also baked some special treats for dessert: Irish carbomb cupcakes from smitten kitchen.


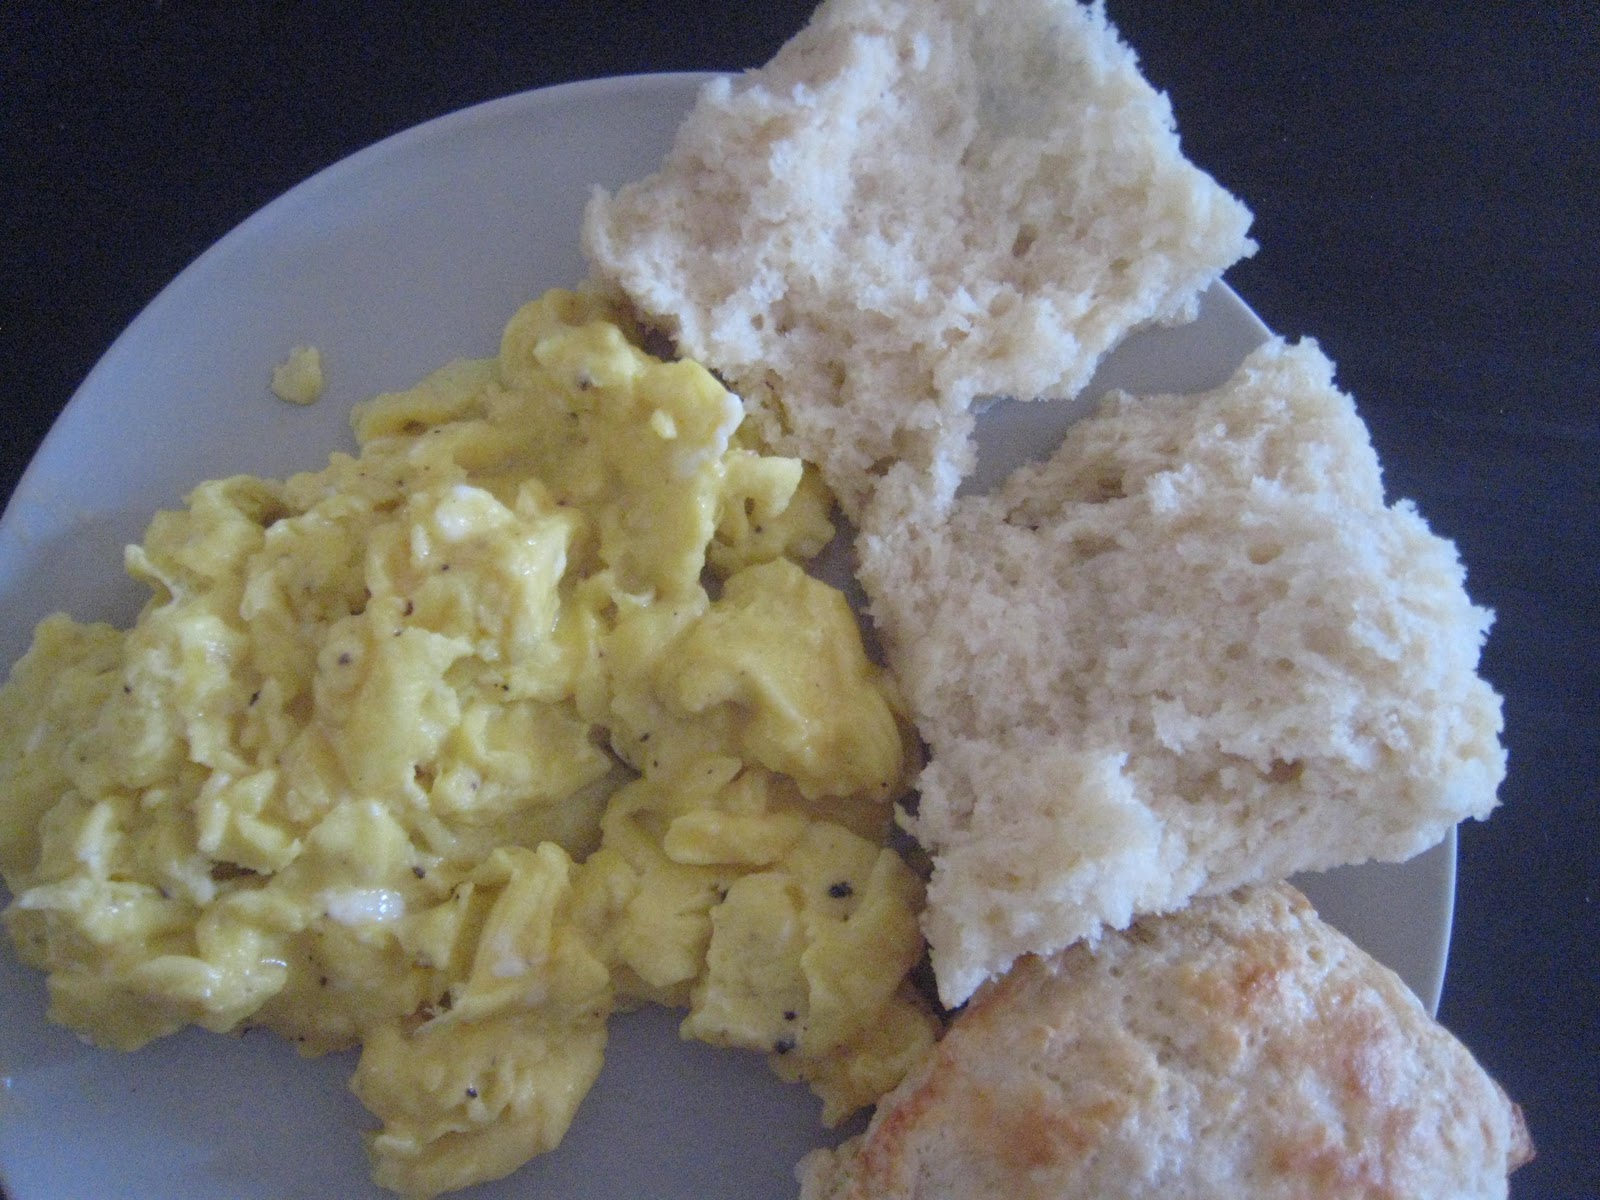
When our guests arrived, we laid out our sandwich spread -- meats, cheeses, vegetables, pickles, and more -- which Sara and Will had kindly picked up earlier in the day.

We took pictures of as many sandwiches as we could. Plus Sara's delicious chickpea side salad. Quite a lot of variety in the group!


 Silence settled in the room as everyone chowed down, enjoying their sandwiches and some out-of-season Christmas Ale courtesy of TJ. And after that, a cupcake.

It was a lot of fun to host a challenge after participating in the Daring Bakers for almost 4 years. We hope everyone else enjoyed it as much as we did. This month, we decided to share our recipes with you. Happy baking!


Sara and Erica of Baking JDs were our March 2012 Daring Baker hostesses! Sara & Erica challenged us to make Dutch Crunch bread, a delicious sandwich bread with a unique, crunchy topping. Sara and Erica also challenged us to create a one of a kind sandwich with our bread!


Preparation time:
Dutch Crunch Topping: 15 minutes active time, 15 minutes passive time
Soft White Roll: 20 minutes active time, 2 hours passive time
Brown Rice Bread: less than 1 hour active time; 2-3 hours passive time

Equipment required:
Small bowl
2 large bowls, or a large bowl and a stand-mixer bowl
Stand mixer with paddle (or whisk) and dough-hook attachments (optional)
Wooden and regular spoon(s)
Whisk
Knife or dough cutter/scraper (optional, depending on your recipe)
Bread pan(s) or baking tray(s)
Plastic wrap or something else to cover the dough while it rises


Dutch Crunch Topping
Servings: This recipe should make sufficient topping for two 9x5 loaves (23cmx13cm) or 12 rolls. If you make only 6 rolls in the first soft white roll recipe, you can cut the topping recipe in half.

You should not prepare the topping until the bread you’ve selected to bake is almost finished rising (~15 minutes from baking).

Ingredients
2 tablespoons (2 packets) (30 ml) (15 gm/½ oz) active dry yeast
1 cup (240 ml) warm water (105-115º F) (41-46°C)
2 tablespoons (30 ml) (30 gm/1 oz) sugar
2 tablespoons (30 ml) vegetable oil
½ teaspoon (2½ ml) (3 gm) salt
1½ cups (360 ml) (240 gm/8½ oz) rice flour (white or brown; NOT sweet or glutinous rice flour)
(increase by 1 cup or more for home-made rice flour)

Directions:
1. Combine all ingredients in a large bowl and beat with a whisk; beat hard to combine. The consistency should be like stiff royal icing – spreadable, but not too runny. If you pull some up with your whisk, as shown below, it should drip off slowly. Add more water or rice flour as necessary. Let stand 15 minutes.

2. Coat the top of each loaf or roll with a thick layer of topping. We tried coating it with a brush but it worked better just to use fingers or a spoon and kind of spread it around. You should err on the side of applying too much topping – a thin layer will not crack properly.
3. Let stand, uncovered, for any additional time your recipe recommends. With the Soft White Roll, you can place the rolls directly into the oven after applying the topping. With the Brown Rice Bread, the loaves should stand for 20 minutes with the topping before baking.
4. When baking, place pans on a rack in the center of the oven and bake your bread as you ordinarily would.  The Dutch crunch topping should crack and turn a nice golden-brown color.


Soft White Roll
Servings:  Six sandwich rolls

This recipe approximates the quintessential white sandwich roll found throughout the Bay Area. The recipe is simple, quick, and addictive.

Ingredients
1 tablespoon (1 packet) (15 ml) (7 gm/ ¼ oz) active dry yeast
¼ cup (60 ml) warm water (105-110º F) (41-43°C) (No need to use a thermometer – it should feel between
lukewarm and hot to the touch).
1 cup (240 ml) warm milk (105-110º F) (41-43°C) (We’ve tried both nonfat and 2%, with no noticeable
difference)
1½ tablespoons (22½ ml) (20 gm/ ⅔ oz) sugar
2 tablespoons (30 ml) vegetable oil (plus additional olive or vegetable oil for greasing bowl during rising)
1½ teaspoons (7½ ml) (9 gm/⅓ oz) salt
Up to 4 cups (960 ml) (600 gm/21oz) all purpose flour

Directions:
1. In the bowl of an electric mixer or large mixing bowl, combine yeast, water, milk and sugar. Stir to dissolve and let sit for about 5 minutes (The mixture should start to bubble or foam a bit and smell yeasty).
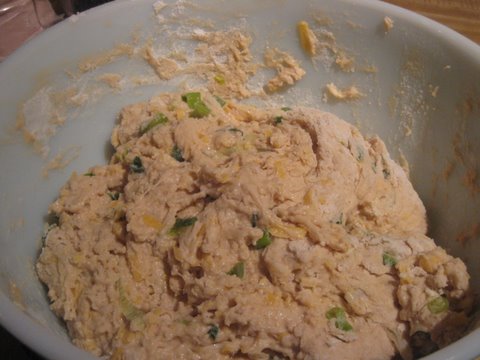
2. Add in vegetable oil, salt and 2 cups of flour. Using the dough hook attachment or a wooden spoon, mix at medium speed until the dough comes together. (The photo to the right is with the first 2 cups of flour added).

3. Add remaining flour a quarter cup at time until the dough pulls away from the sides of the bowl, as shown in the photo below (For us, this usually required an additional 1½ to 2 cups of flour).

4. Turn out onto a lightly floured surface and knead for about 4 minutes, until smooth and elastic.
5. Place in a lightly greased bowl and cover with plastic wrap. Let rise for 1 hour, or until doubled (or more) in size (see photo comparison).

6. Once the dough has risen, turn it out onto a lightly floured surface and divide it into 6 equal portions (if you’d like to make rolls) or 2 equal portions (if you’d like to make a loaf) (using a sharp knife or a dough scraper works well). Shape each into a ball or loaf and place on a parchment-lined baking sheet (try not to handle the dough too much at this point).
7. Cover with plastic wrap and let rise for 15 minutes while you prepare the topping.
8. Coat the top of each roll or loaf with the topping as described above. While the original recipe recommends letting them stand for 20 minutes after applying the topping, I got better results by putting them directly into the oven.
9. Once you’ve applied the topping, bake in a preheated moderately hot 380ºF/190°C/gas mark 5 for 25-30 minutes, until well browned. Let cool completely on a wire rack before eating.7


Brown Rice Bread
Servings:  Two 9x5 inch (23cmx13cm) loaves

If you’re up for more of a challenge, this recipe creates an interesting bread that incorporates cooked brown
rice—something that was new to us. The resulting loaf has, as Hensperger describes, a “nubbly” texture and a
very light almost-sweetness to it. Great for toasting.

Ingredients
1 cup (240 ml) warm water (105-115ºF) (41-46°C)
2 tablespoons (2 packets) (30 ml) (15 gm/½ oz) active dry yeast
1 teaspoon (5 ml) (5 gm) sugar or honey (we used sugar, which worked great)
1 cup (240 ml) warm buttermilk  (105-115 ºF) (41-46°C)
½ cup (120 ml) honey
¼ cup (60 ml) vegetable oil (plus additional olive or vegetable oil for greasing bowl during rising)
1 tablespoon (15 ml) (20 gm/⅔ oz) salt
2 cups (480 ml) (200 gm/7 oz) cooked and cooled short-grain brown rice
5½ -6 cups (1440 ml) (840 gm/30 oz) unbleached all-purpose flour or bread flour

Directions:
1. Pour the warm water in a small bowl. Sprinkle yeast and sugar over surface. Stir to dissolve and let stand at room temperature until foamy, about 10 minutes.
2. In a large bowl using a whisk or in the work bowl of a heavy-duty mixer fitted with the paddle attachment, combine the buttermilk, honey, oil, and salt. Add the rice and beat until smooth.

3. Add the yeast mixture and 2 cups flour. Beat hard until smooth for 3 minutes.
4. Add the flour, ½ cup at a time, until a soft, bulky dough that just clears the side of the bowl is formed.
5. Turn the dough out onto a lightly floured work surface and knead until smooth and springy, about 5 minutes, dusting with flour 1 Tbsp. at a time as needed to prevent sticking. This dough will be slightly sticky. If kneading by machine, switch from the paddle to the dough hook and knead for 4 to 5 minutes, or until the dough is smooth and springy and springs back when pressed.  If desired, transfer the dough to a floured surface and knead briefly by hand.
6. Place the dough in a greased deep bowl. Turn the dough once to coat the top and cover with plastic wrap. Let rise at room temperature until doubled in bulk, 1½ to 2 hours.

7. Gently deflate the dough. Turn the dough out onto a lightly floured work surface.  Grease two 9-by-5-inch (23-by-13 cm) loaf pans. Divide the dough into 2 equal portions. Form the portions into loaves. Let rest 15 minutes.
8. Coat the top of each loaf with the topping as described above, including letting them stand, uncovered, 20 minutes, until dough rises level with the tops of the pans.

9. Twenty minutes before baking, preheat the oven to moderately hot 380ºF/190°C/gas mark 5. Place the pans on a rack in the center of the oven and bake 45 to 50 minutes or until brown and the loaves sound hollow when tapped with your finger. Transfer the loaves to a cooling rack. Cool completely before slicing


Storage & Freezing Instructions/Tips: Store as you would any bread – in a bread box, a paper bag, or loose plastic wrap. Both varieties suggested are best in the first couple of days. The loaves or rolls can also be frozen in plastic – simply toast to reheat.


Recipe Sources: The recipe for the Dutch Crunch topping came from Rose Levy Beranbaum’s The Bread Bible. The recipes for the breads we’ve suggested came from The Bread Bible and an adaptation of a recipe found on Baking Bites.


Monday, February 27, 2012

Beer & Cheese? No problem...(plus an exciting announcement)

I can't say that this month's "challenge" presented any difficulties for me and Erica. But I don't think we can really complain, because man oh man, the results were certainly divine.

This month, we made Green Onion, Chedder & Asiago Beer Bread while up in Tahoe for a girl's skiing weekend. The recipe couldn't have been easier - I mixed up the dry ingredients in my kitchen ahead of time, and when we got up to the cabin we simply added the cheese, beer and sauteed green onion. After some brief discussion about baking at altitude (conclusion: just put it in the oven and see what happens), we popped it in. About an hour later, we devoured the hot bread right out of the oven - nothing like a day of skiing and some hottubing to get the appetite ready.

Here are some action shots:

Sauteeing the green onions.

Our 2 0z. of asiago cheese, thanks to our friend Emily and the gracious cheese-counter man at Berkeley Bowl, who unwrapped pre-packaged asiago to cut us exactly what we needed.

Combining the ingredients, including the beer.

The final dough, ready for baking.

The beginnings of an excellent fire.

Finally, a very exciting announcement: Erica and I have been chosen to host the March 2012 Daring Baker's Challenge, which means that next month, bakers from around the world will be testing out a recipe of our choosing. We hope that all the daring bakers out there enjoy our selection--we cannot wait to share it with you!! (If you want to play along at home this month, shoot us an email or leave a comment - we'd be happy to share our recipe with you!)

The Daring Bakers’ February 2012 host was – Lis! Lisa stepped in last minute and challenged us to create a quick bread we could call our own. She supplied us with a base recipe and shared some recipes she loves from various websites and encouraged us to build upon them and create new flavor profiles.

Friday, January 27, 2012

"Don't make a difference what food you make...

... Use buttermilk biscuits to clean your plate."*


Sara and I were excited to try this classic baking challenge. Up front it seems so easy but each of us has turned out our share of hockey-puck biscuits. We were busy bees this month and only had the chance to make one batch; finding the time to do that was a challenge in itself. Nonetheless, we picked up some new tricks and turned out some truly wonderful buttermilk biscuits.


Trick #1: Sifting the flour three times.


Trick #2: Shaving the (frozen) butter before cutting it into the dough with a pastry cutter.


Trick #3: Not over-handling the dough. Stir it only until it *just* comes together. Seriously. Stop touching it.


 And voila! Biscuit perfection.


It's as simple as that.


* Yes, this post references a Sir Mix-A-Lot song. What?

Audax Artifex was our January 2012 Daring Bakers’ host. Aud worked tirelessly to master light and fluffy scones (a/k/a biscuits) to help us create delicious and perfect batches in our own kitchens!

Tuesday, December 27, 2011

Failure to Rise

Well, after a recent successful run, it seemed almost inevitable that the year would end in failure. Erica and I couldn't get our schedules to match up this holilday season, so I was left to cultivate the starter on my own. One would think that being in San Francisco, home of both the original sourdough and Tartine Bakery, I'd have a leg up on this challenge.

Instead, I got a hockey puck.

I dutifully mixed my stoneground wheat flour and water every morning. I checked for that wonderfully yeasty smell, and was vaguely satisfied by a sort-of sour smell instead. But I knew once I went to bake it that it wasn't going to work - I suspect my apartment was far too cold (being in SF, we're not the type to have a heater, just flannel sheets, which sadly don't warm starter up to the necessary temperature). But I had a schedule to stick too (Will's family was coming over for dinner, and I was going to bake bread goshdarnit), and very little extra time to coax the bread into rising.

The second I plunked it onto the baking stone my suspcisions were confirmed. It just sort of spread out in a runny mess - no visable bubbles or other sign of loft. And after the requisite amount of time in the oven, I pulled out a veritable brick. Round, completely flat, and about 10 pounds, it most directly resembeled the baking stone I pulled it off of. Without letting the family know of my failure, I quickly subbed out some Acme loaf (purchased with this potential failure in mind), and our hors d'ouevres continued without problem.

To be fair to me and Erica, there was a period in law school where I cared for (and baked with) an excellent starter from my brother for almost a year. And I know Erica has had much success in this area as well. This just wasn't the month for it to work in our house. Another time!

Happy holidays to everyone!

(Pictures are coming. My computer is having some difficulty at the moment, so I can't pull them off my camera. Will repost when ready).

Our Daring Bakers Host for December 2011 was Jessica of My Recipe Project and she showed us how fun it is to create Sour Dough bread in our own kitchens! She provided us with Sour Dough recipes from Bread Matters by AndrewWhitley as well as delicious recipes to use our Sour Dough bread in from Tonia George’s Things on Toast and Canteen’s Great British Food!

Sunday, November 27, 2011

Our baking is sans rival!

We made not one, but two, Filipino specialties this month--a sans rival cake and batch of bibingkas--during a weekend jaunt to Big Sur. I never thought daring bakers would involve the use of a fermented egg, but hey, that's why we're daring, right?*

Sans Rival Cake

The cake recipe, despite its filipino origin, seemed mighty familiar to us, evoking in particular this cake (as an aside - wow! That link is from 2008). But instead of hazelnuts, this meringue contains toasted cashews.

This recipe required separating 10 eggs. As we've learned in the past, the second you break a yolk into the egg whites, it's all over - the whites will never set up into the stiff peaks necessary for meringue. I'm proud to say that it only took us 14 eggs to get to the requisite 10 whites, and we were able to use the "ruined" eggs for the Bibingkas.

After crushing up the cashews and carefully folding them into our successful egg whites, we baked four separate layers to a toasty golden.

The buttercream recipe was excellent. I've never made it by tempering the eggs with a simple syrup, but I don't think I'll ever do it another way again. The frosting was rich, fluffy, and delicious. The addition of almond extract also made for a nice touch.

Yet another improvised cake display - this is an upside-down fiestaware pie dish, but it worked quite well.

Luckily we had a birthday to celebrate (and a birthday girl who happened to love cashews!), so we stuck some candles in and enjoyed!


Bibingkas

The bibingkas required some modification on our part. Despite our clear proximity to many asian grocery stores, I was not able to pick up some fermented eggs or banana leaves. So we made do, with a regular hard boiled egg and some parchment paper. Not many pictures of our prep, but here's the final product:


It was great to work with rice flour, in anticipation of a secret project Erica and I are working on. More to come on that very soon!

A final parting shot of Big Sur:


Catherine of Munchie Musings was our November Daring Bakers’ host and she challenged us to make a traditional Filipino dessert – the delicious Sans Rival cake! And for those of us who wanted to try an additional Filipino dessert, Catherine also gave us a bonus recipe for Bibingka which comes from her friend Jun of Jun-blog.

* Disclaimer: we did not actually obtain a fermented egg... Whoops.