Friends, I apologize! My computer is refusing to upload photos, so this will have to wait until tomorrow. Giant (vegetarian) Empanada coming!
----------------------------------------
Patri of the blog, Asi Son Los Cosas, was our September 2012 Daring
Bakers’ hostess and she decided to tempt us with one of her family’s
favorite recipes for Empanadas! We were given two dough recipes to
choose from and encouraged to fill our Empanadas as creatively as we
wished!
Thursday, September 27, 2012


Monday, August 27, 2012
For Once, No Ugly Ducklings

When Sara and I saw that this challenge tended toward the make-something-attractive side of the baking spectrum, we were skeptical as usual. Apparently, after over 4 years (!) of Daring Bakers challenges, however, our ability to turn out something that looks pretty has improved. We had fun with this one, and while the swans weren't the best tasting thing we've ever had, they were certainly cute.

Pâte à choux is not a very nice dough -- it's goopy, sticky and pretty tasteless. And, as enthusiastic tasters of raw batters and doughs, Sara and I were a bit disappointed with this one, though we really shouldn't be eating raw eggs in the first place.

Nonetheless, piping out the swan heads was fun. As the recipe said, they were a kind of hybrid numeral two/question mark.

Lots and lots and lots of swan heads...

Lots and lots of swan bodies...

Fortunately, my oven behaved itself for this challenge and everything came out perfectly baked.


Check out this beautiful swan floating on some blueberry "water."

More swans... they're multiplying! No ugly ducklings here.

A whole flock -- which were eaten shortly after this photo was taken. RIP swans.
Thanks for a fun and daring challenge that took us out of our baking comfort zone and forced us to pay attention to making something aesthetically pleasing. I don't know that I will be making these again -- I didn't love the taste -- but Sara and I certainly enjoyed making them this time.
Appropriately enough, we took on this challenge on what would've been Julia Child's 100th birthday (August 15, 2012). Happy birthday, Julia! You are an inspiration to both of us.
Kat of The Bobwhites was our August 2012 Daring Baker hostess who inspired us to have fun in creating pate a choux shapes, filled with crème patisserie or Chantilly cream. We were encouraged to create swans or any shape we wanted and to go crazy with filling flavors allowing our creativity to go wild!
Friday, July 27, 2012
It tastes like childhood
As a small child, my brother and I were both quite obsessed with cheesy crackers. I was partial to Cheez-Its (particularly the white cheddar variety), while my brother has been known to devour an entire carton of goldfish crackers in one day. So while Erica and I were a little bummed by the ease of this challenge (and its similarity to this), at least we got to make fancy replications of some of my favorite childhood memories.

Fancy, you ask? Why yes. See the little container of thyme? These weren't just cheez crackers, but cheese and herb cracks. How posh.

(Apologies for the rather lack-luster photos this time around. I was distracted in the kitchen, and then there was this bottle of wine to contend with).

These were our chedder, thyme (was supposed to be rosemary, but someone forgot to water their rosemary bush...) and walnut icebox crackers, which tasted pretty much like goldfish. They could have been a bit more well done for my liking, but at least we didn't burn anything this time around.

And these were pepper jack and oregano. I don't own any cookie cutters, so we did some free form squares, which really did end up looking (and tasting!) like Cheez-Its.
Finally, we needed something to go with our crackers. While the rest of the country swelters in what sounds like a pretty devastating heat wave, we're enjoying our own "summer" out here by the Bay - cold, foggy, soup weather. Lucky for us, someone invented corn chowder. Perfect for warming you up, while also taking advantage of spectacular summer produce. (I know. It looks like porridge. It really did taste delicious!).

Wednesday, June 27, 2012
Let Them Eat (Battenberg) Cake


The cake recipe itself was relatively easy -- pretty standard cake with almond flavoring.

We successfully created our faux-Battenberg pan.

And successfully filled one side with yellow cake and the other with pink.

Things went slightly awry in the oven when we ended up with under-cooked cake that had to be hastily returned to the oven. Highly unusual for my oven, which typically runs way too hot and burns things. We have yet to bake a cake together where nothing goes wrong and this time we had no frosting with which to fill in the holes.

Fortunately, we did have marzipan (incidentally, the name of my sister's new kitten).

Yep, nothing like marzipan to wrap over our cakes, which looked a bit worse for the wear.

Sara beautifully scored the top of the marzipan...

... and trimmed the edges.

Ta-da!
We enjoyed slices of our Battenberg Cake while watching very entertaining Daily Show coverage of the Queen's Jubilee. All we were missing was some tea, and perhaps some finger sandwiches.
Sunday, May 27, 2012
30 Challah!

Erica and I have both made challah many times before - personally, I think it's one of the easiest breads to whip up, and the braiding turns out really nicely. So we were excited by this months challenge, as we knew for sure that it would turn out well.
Scheduling, yet again, turned out to be the tricky part. So we planned to eat our challah together, but bake separately.

I made two unadorned loaves - one three strand braid, and one four strand braid. The four strand braid was tricky for me. The first time I tried it, based on an internet video, I ended up with a three strand braid and one strand just hanging out underneath. Whoops. But then I tried it again, and successfully incorporated all the strands - I like how textured it looks.

Erica was fancier - she added poppy seeds to her beautiful loaves.

Then came from the best part. We brought our four loaves to Big Basin State Park as part of a birthday celebration (won't say which one of us or which birthday, but the title provides at least one hint :-)).

We sliced them up, dipped them in eggy goodness, and fried them up on a camp stove. They say everything tastes better outside, but I'm pretty sure these would have tasted just as good indoors.

Early season strawberries provided the perfect topping.
Thanks to our hosts!
May’s Daring Bakers’ Challenge was pretty twisted – Ruth from The Crafts
of Mommyhood challenged us to make challah! Using recipes from all
over, and tips from “A Taste of Challah,” by Tamar Ansh, she encouraged
us to bake beautifully braided breads.
Friday, April 27, 2012
Nazook! Gadzooks!

Sadly I wrote an entire blog post about our nadzook-ian adventures, which Blogger apparently ate for breakfast. Oh well, in short -- it was a delicious challenge and a lot of fun to make.

I made the dough in advance on a weekday morning and then Sara came over in the evening and, while I whipped up a quick dinner, she made the filing.

We decided to add walnuts and cinnamon to the basic vanilla + butter + sugar suggested.

Sara did the hard work of rolling out the dough.

And the fun work of rolling up our pastries.

We coated them in egg-yolk wash and cut them with a pastry cutter.

This picture doesn't do them justice. They were really beautiful out of the oven -- nice swirl with a lovely brown glossy top -- and they smelled wonderful.
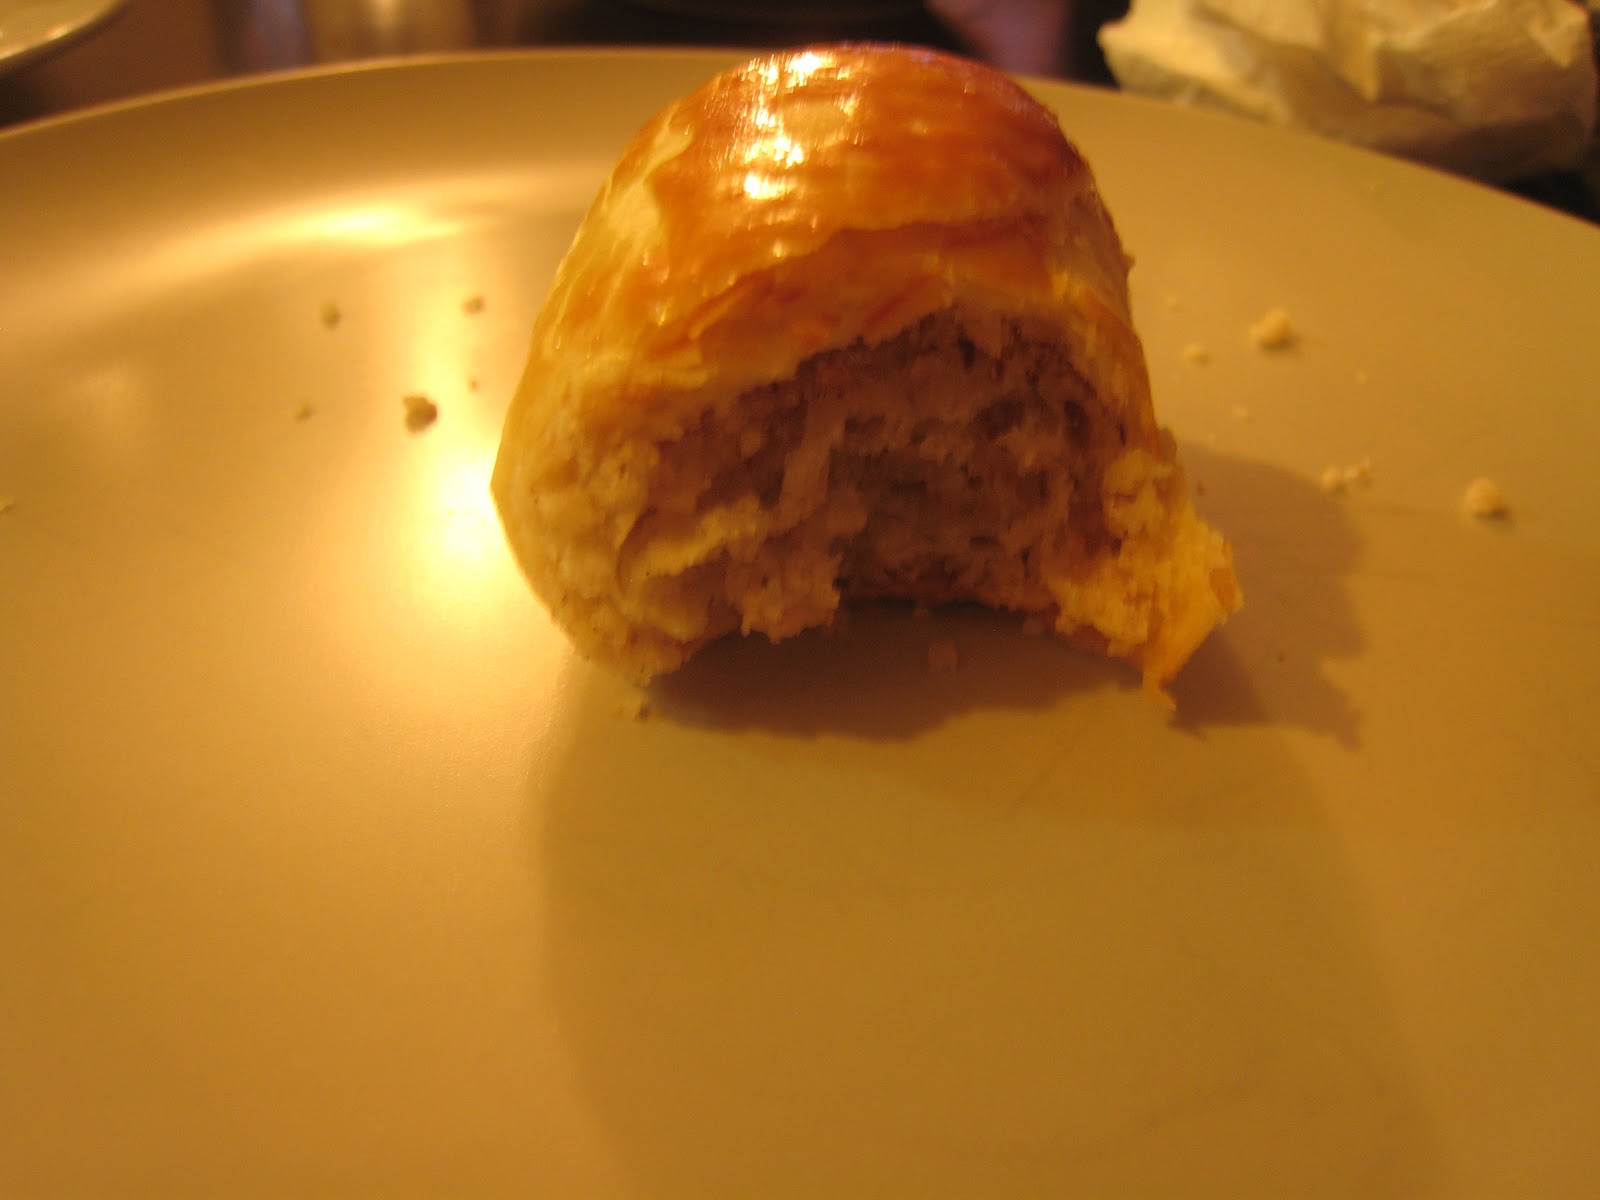
They tasted wonderful, too. We each had two and had to resist going for more. Thanks for a great challenge -- new to us, but I suspect we may make these again!
The Daring Bakers’ April 2012 challenge, hosted by Jason at Daily Candor, were two Armenian standards: nazook and nutmeg cake. Nazook is a layered yeasted dough pastry with a sweet filling, and nutmeg cake is a fragrant, nutty coffee-style cake.
Tuesday, March 27, 2012
The Baking JDs' Challenge: Dutch Crunch Bread

We were very excited to host the Daring Bakers challenge this month! For our challenge, we chose a San Francisco Bay Area classic: Dutch crunch bread.


We both baked 12 Dutch crunch rolls, using the simple white bread recipe we'd provided to the group and, of course, the Dutch crunch topping. I also baked some special treats for dessert: Irish carbomb cupcakes from smitten kitchen.

When our guests arrived, we laid out our sandwich spread -- meats, cheeses, vegetables, pickles, and more -- which Sara and Will had kindly picked up earlier in the day.


Silence settled in the room as everyone chowed down, enjoying their sandwiches and some out-of-season Christmas Ale courtesy of TJ. And after that, a cupcake.


Sara and Erica of Baking JDs were our March 2012 Daring Baker hostesses! Sara & Erica challenged us to make Dutch Crunch bread, a delicious sandwich bread with a unique, crunchy topping. Sara and Erica also challenged us to create a one of a kind sandwich with our bread!
Preparation time:
Dutch Crunch Topping: 15 minutes active time, 15 minutes passive time
Soft White Roll: 20 minutes active time, 2 hours passive time
Brown Rice Bread: less than 1 hour active time; 2-3 hours passive time
Equipment required:
Small bowl
2 large bowls, or a large bowl and a stand-mixer bowl
Stand mixer with paddle (or whisk) and dough-hook attachments (optional)
Wooden and regular spoon(s)
Whisk
Knife or dough cutter/scraper (optional, depending on your recipe)
Bread pan(s) or baking tray(s)
Plastic wrap or something else to cover the dough while it rises
Dutch Crunch Topping
Servings: This recipe should make sufficient topping for two 9x5 loaves (23cmx13cm) or 12 rolls. If you make only 6 rolls in the first soft white roll recipe, you can cut the topping recipe in half.
You should not prepare the topping until the bread you’ve selected to bake is almost finished rising (~15 minutes from baking).
Ingredients
2 tablespoons (2 packets) (30 ml) (15 gm/½ oz) active dry yeast
1 cup (240 ml) warm water (105-115º F) (41-46°C)
2 tablespoons (30 ml) (30 gm/1 oz) sugar
2 tablespoons (30 ml) vegetable oil
½ teaspoon (2½ ml) (3 gm) salt
1½ cups (360 ml) (240 gm/8½ oz) rice flour (white or brown; NOT sweet or glutinous rice flour)
(increase by 1 cup or more for home-made rice flour)
Directions:
1. Combine all ingredients in a large bowl and beat with a whisk; beat hard to combine. The consistency should be like stiff royal icing – spreadable, but not too runny. If you pull some up with your whisk, as shown below, it should drip off slowly. Add more water or rice flour as necessary. Let stand 15 minutes.
2. Coat the top of each loaf or roll with a thick layer of topping. We tried coating it with a brush but it worked better just to use fingers or a spoon and kind of spread it around. You should err on the side of applying too much topping – a thin layer will not crack properly.
3. Let stand, uncovered, for any additional time your recipe recommends. With the Soft White Roll, you can place the rolls directly into the oven after applying the topping. With the Brown Rice Bread, the loaves should stand for 20 minutes with the topping before baking.
4. When baking, place pans on a rack in the center of the oven and bake your bread as you ordinarily would. The Dutch crunch topping should crack and turn a nice golden-brown color.
Soft White Roll
Servings: Six sandwich rolls
This recipe approximates the quintessential white sandwich roll found throughout the Bay Area. The recipe is simple, quick, and addictive.
Ingredients
1 tablespoon (1 packet) (15 ml) (7 gm/ ¼ oz) active dry yeast
¼ cup (60 ml) warm water (105-110º F) (41-43°C) (No need to use a thermometer – it should feel between
lukewarm and hot to the touch).
1 cup (240 ml) warm milk (105-110º F) (41-43°C) (We’ve tried both nonfat and 2%, with no noticeable
difference)
1½ tablespoons (22½ ml) (20 gm/ ⅔ oz) sugar
2 tablespoons (30 ml) vegetable oil (plus additional olive or vegetable oil for greasing bowl during rising)
1½ teaspoons (7½ ml) (9 gm/⅓ oz) salt
Up to 4 cups (960 ml) (600 gm/21oz) all purpose flour
Directions:
1. In the bowl of an electric mixer or large mixing bowl, combine yeast, water, milk and sugar. Stir to dissolve and let sit for about 5 minutes (The mixture should start to bubble or foam a bit and smell yeasty).
2. Add in vegetable oil, salt and 2 cups of flour. Using the dough hook attachment or a wooden spoon, mix at medium speed until the dough comes together. (The photo to the right is with the first 2 cups of flour added).
3. Add remaining flour a quarter cup at time until the dough pulls away from the sides of the bowl, as shown in the photo below (For us, this usually required an additional 1½ to 2 cups of flour).
4. Turn out onto a lightly floured surface and knead for about 4 minutes, until smooth and elastic.
5. Place in a lightly greased bowl and cover with plastic wrap. Let rise for 1 hour, or until doubled (or more) in size (see photo comparison).
6. Once the dough has risen, turn it out onto a lightly floured surface and divide it into 6 equal portions (if you’d like to make rolls) or 2 equal portions (if you’d like to make a loaf) (using a sharp knife or a dough scraper works well). Shape each into a ball or loaf and place on a parchment-lined baking sheet (try not to handle the dough too much at this point).
7. Cover with plastic wrap and let rise for 15 minutes while you prepare the topping.
8. Coat the top of each roll or loaf with the topping as described above. While the original recipe recommends letting them stand for 20 minutes after applying the topping, I got better results by putting them directly into the oven.
9. Once you’ve applied the topping, bake in a preheated moderately hot 380ºF/190°C/gas mark 5 for 25-30 minutes, until well browned. Let cool completely on a wire rack before eating.7
Brown Rice Bread
Servings: Two 9x5 inch (23cmx13cm) loaves
If you’re up for more of a challenge, this recipe creates an interesting bread that incorporates cooked brown
rice—something that was new to us. The resulting loaf has, as Hensperger describes, a “nubbly” texture and a
very light almost-sweetness to it. Great for toasting.
Ingredients
1 cup (240 ml) warm water (105-115ºF) (41-46°C)
2 tablespoons (2 packets) (30 ml) (15 gm/½ oz) active dry yeast
1 teaspoon (5 ml) (5 gm) sugar or honey (we used sugar, which worked great)
1 cup (240 ml) warm buttermilk (105-115 ºF) (41-46°C)
½ cup (120 ml) honey
¼ cup (60 ml) vegetable oil (plus additional olive or vegetable oil for greasing bowl during rising)
1 tablespoon (15 ml) (20 gm/⅔ oz) salt
2 cups (480 ml) (200 gm/7 oz) cooked and cooled short-grain brown rice
5½ -6 cups (1440 ml) (840 gm/30 oz) unbleached all-purpose flour or bread flour
Directions:
1. Pour the warm water in a small bowl. Sprinkle yeast and sugar over surface. Stir to dissolve and let stand at room temperature until foamy, about 10 minutes.
2. In a large bowl using a whisk or in the work bowl of a heavy-duty mixer fitted with the paddle attachment, combine the buttermilk, honey, oil, and salt. Add the rice and beat until smooth.
3. Add the yeast mixture and 2 cups flour. Beat hard until smooth for 3 minutes.
4. Add the flour, ½ cup at a time, until a soft, bulky dough that just clears the side of the bowl is formed.
5. Turn the dough out onto a lightly floured work surface and knead until smooth and springy, about 5 minutes, dusting with flour 1 Tbsp. at a time as needed to prevent sticking. This dough will be slightly sticky. If kneading by machine, switch from the paddle to the dough hook and knead for 4 to 5 minutes, or until the dough is smooth and springy and springs back when pressed. If desired, transfer the dough to a floured surface and knead briefly by hand.
6. Place the dough in a greased deep bowl. Turn the dough once to coat the top and cover with plastic wrap. Let rise at room temperature until doubled in bulk, 1½ to 2 hours.
7. Gently deflate the dough. Turn the dough out onto a lightly floured work surface. Grease two 9-by-5-inch (23-by-13 cm) loaf pans. Divide the dough into 2 equal portions. Form the portions into loaves. Let rest 15 minutes.
8. Coat the top of each loaf with the topping as described above, including letting them stand, uncovered, 20 minutes, until dough rises level with the tops of the pans.
9. Twenty minutes before baking, preheat the oven to moderately hot 380ºF/190°C/gas mark 5. Place the pans on a rack in the center of the oven and bake 45 to 50 minutes or until brown and the loaves sound hollow when tapped with your finger. Transfer the loaves to a cooling rack. Cool completely before slicing
Storage & Freezing Instructions/Tips: Store as you would any bread – in a bread box, a paper bag, or loose plastic wrap. Both varieties suggested are best in the first couple of days. The loaves or rolls can also be frozen in plastic – simply toast to reheat.
Recipe Sources: The recipe for the Dutch Crunch topping came from Rose Levy Beranbaum’s The Bread Bible. The recipes for the breads we’ve suggested came from The Bread Bible and an adaptation of a recipe found on Baking Bites.
Subscribe to:
Posts (Atom)

